Weatherproof Mud Kitchen for Kids: Durable Outdoor Play Ideas That Blend Style and Function
Table of Contents
A backyard mud kitchen can be the crown jewel of your outdoor space—inviting kids to engage in messy, creative play while encouraging independence and imagination. But not all mud kitchens are built the same. Without proper planning, materials, or structure, they can quickly warp, fade, or fall apart after a few rainstorms.
That’s why a weatherproof mud kitchen is the ultimate solution. Built to endure rain, sun, wind, and playtime chaos, it offers a safe and long-lasting setup your kids will enjoy season after season. Even better? It can complement your home’s outdoor aesthetic with natural wood tones, minimal design, and functional styling.
According to early childhood development experts, outdoor sensory play helps build motor skills, language development, and confidence. With the right materials and setup, a weatherproof mud kitchen becomes a smart investment—not only in your child’s development but in the visual appeal and utility of your backyard.
In this post, you’ll learn how to design a durable, beautiful mud kitchen that stands up to the elements and adds charm to your space.
In-Depth Outline
1. Why Choose a Weatherproof Mud Kitchen?
- Built to last across all seasons with minimal upkeep.
- Avoids rot, rust, fading, or splintering.
- Encourages consistent outdoor play, rain or shine.
- Adds structure to your yard that remains functional over time.
- Complements long-term landscaping or play zone planning.
Table: Standard vs. Weatherproof Mud Kitchen
| Feature | Standard Mud Kitchen | Weatherproof Mud Kitchen |
|---|---|---|
| Durability | 6–12 months | 3–5 years+ |
| Maintenance | High | Low to moderate |
| Cost | Budget-friendly upfront | Investment with long-term value |
2. Best Materials for Weatherproofing
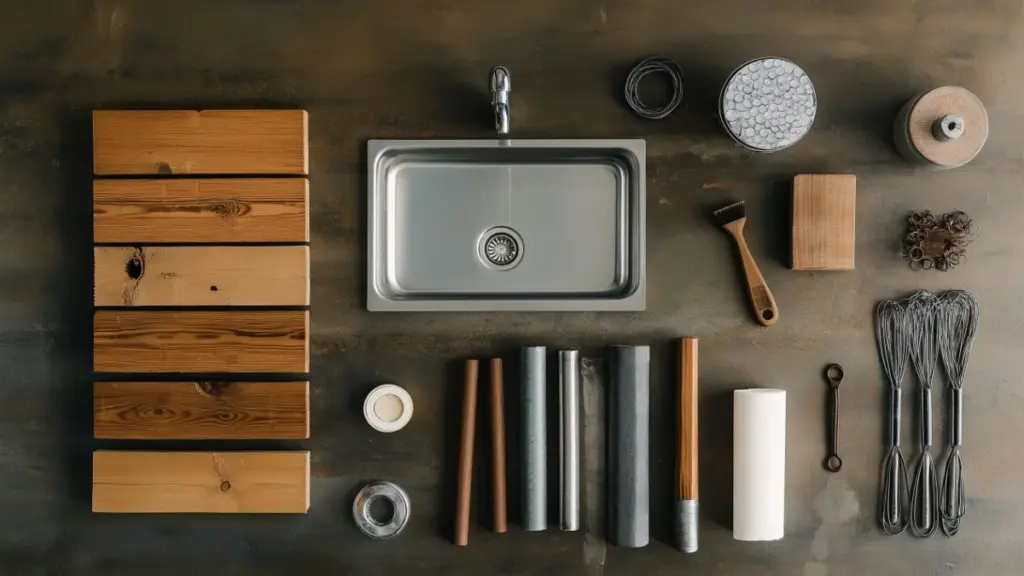
- Use pressure-treated lumber or cedar for the frame (resists rot).
- Choose galvanized metal for sinks, hinges, and fasteners (rust-resistant).
- Seal with outdoor-grade, child-safe sealant or stain.
- Avoid plastic parts that may degrade or crack under sun exposure.
- Add roof overhang or vinyl covers for rain protection.
Table: Weather-Resistant Materials Comparison
| Material Type | Weatherproof Benefits | Considerations |
|---|---|---|
| Pressure-treated wood | Long-lasting, rot-resistant | Requires sealing for aesthetics |
| Stainless steel | Rust-proof, easy to clean | Higher cost |
| Polycarbonate roof | UV-blocking, rain-shedding | May require anchoring |
3. Step-by-Step Build Plan for All-Weather Durability
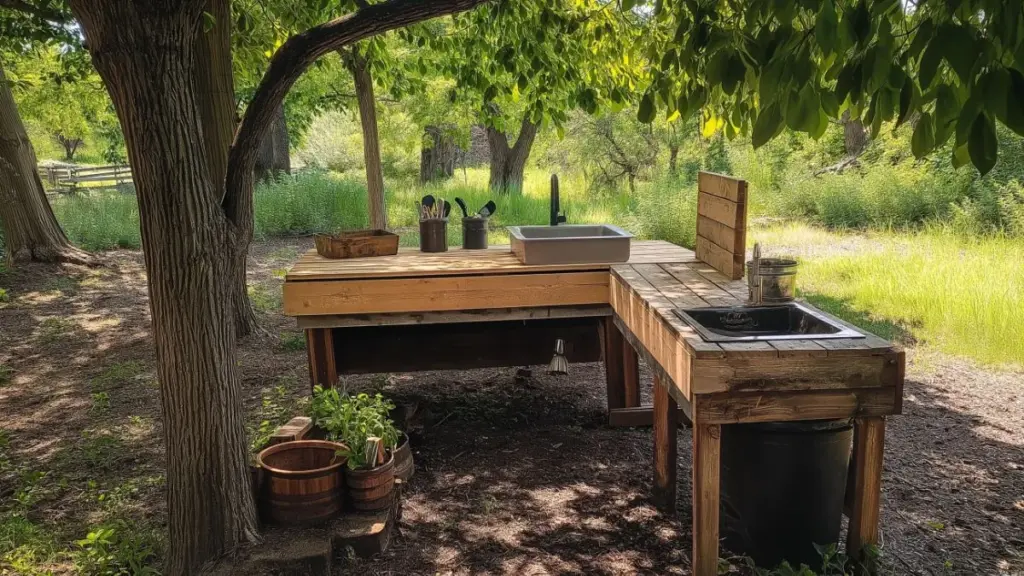
- Step 1: Choose a location with proper drainage and partial shade.
- Step 2: Construct frame using sealed treated lumber.
- Step 3: Install a metal sink or bowl with drainage holes.
- Step 4: Add weatherproof surfaces: faux stovetop, shelf space.
- Step 5: Attach overhead protection (roof, awning, or tarp).
- Step 6: Apply waterproof paint or stain every season.
Table: Mud Kitchen Build Timeline
| Step | Duration | Tools Needed |
|---|---|---|
| Frame assembly | 1–2 hours | Saw, drill, screws |
| Sink installation | 1 hour | Jigsaw, sealant |
| Weatherproof sealing | 2–3 hours | Brush, outdoor paint/sealant |
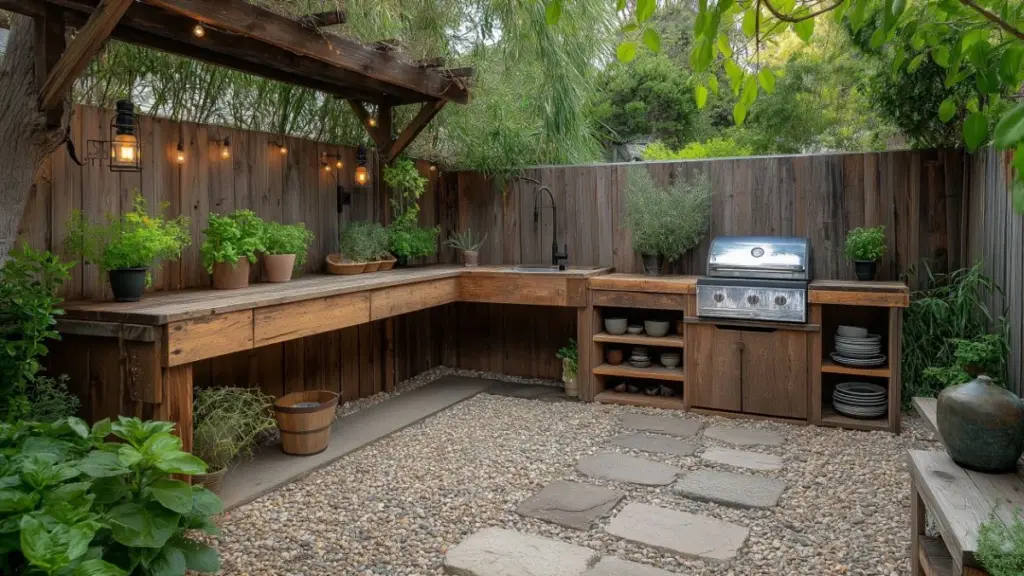
4. Functional Design Features That Hold Up Outdoors
- Adjustable shelves for storing pots, pans, and play tools.
- Hooks made of galvanized or powder-coated metal.
- Covered cubbyholes or crates for utensil storage.
- Drainage holes in sink and countertop for water run-off.
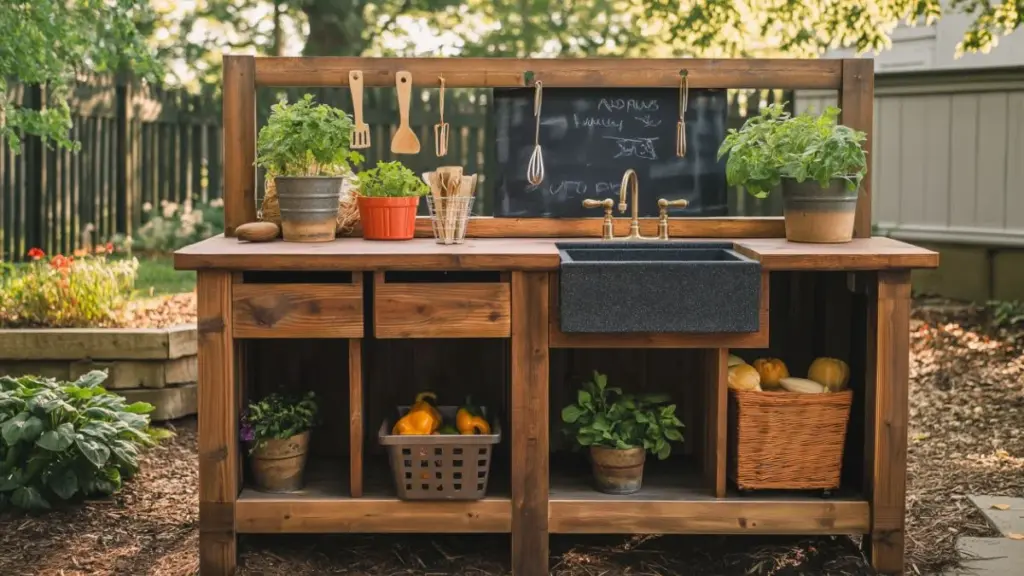
- Built-in chalkboard panels with weatherproof coating.
Table: Outdoor-Friendly Design Features
| Feature | Benefit | Weatherproofing Strategy |
|---|---|---|
| Raised sink area | Prevents pooling | Drainage hole + sealed edges |
| Metal hooks | Rust-resistant hanging | Galvanized or coated metal |
| Chalkboard panel | Creative play surface | Waterproof chalk paint |
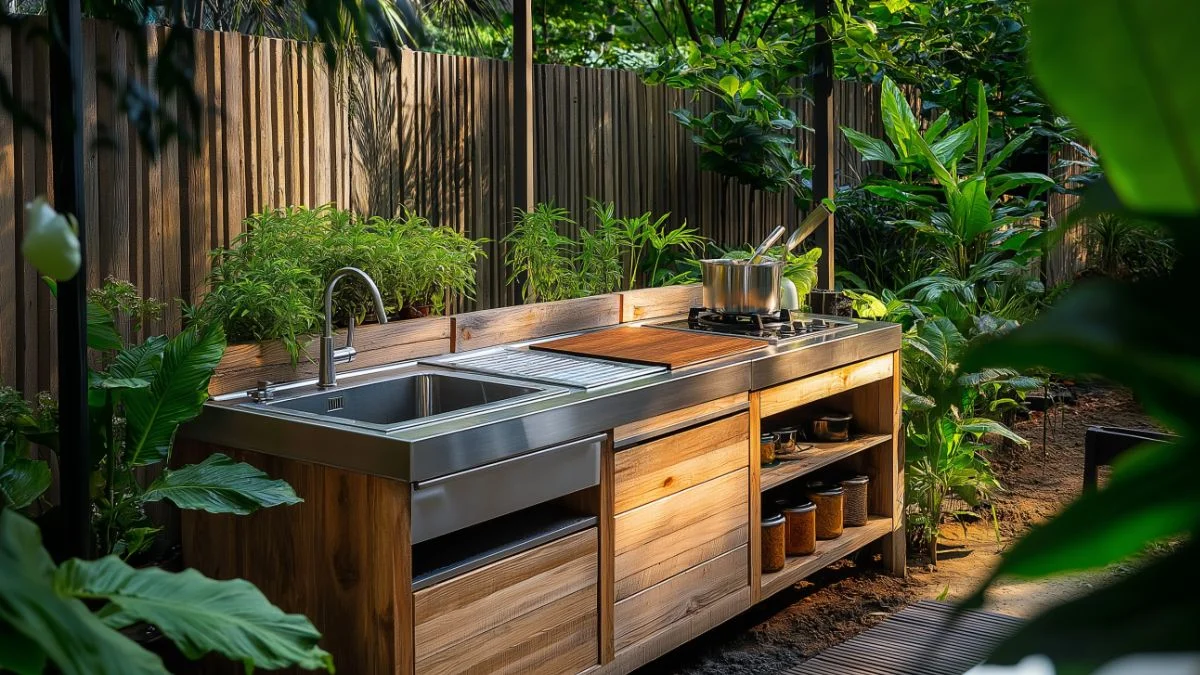
5. Style Meets Function: Aesthetic Upgrades
- Use neutral tones and weathered wood for a modern rustic look.
- Add planters or herb boxes for visual interest and learning.
- Create a stone path leading to the kitchen.
- Use brass or matte black fixtures for elevated charm.
- Install solar-powered string lights around the play zone.
Table: Aesthetic Upgrades That Add Value
| Element | Style + Purpose |
|---|---|
| Herb planter box | Sensory + learning |
| Solar lanterns | Ambiance and nighttime play |
| Gravel path | Defines zone + prevents mud |
6. Maintenance Tips to Ensure Long-Term Use
- Reseal wood surfaces every 6–12 months depending on climate.
- Store metal accessories indoors or in a waterproof bin.
- Check for rust, mold, or loose parts monthly.
- Use protective covers during extended off-season periods.
- Avoid standing water by placing the unit on gravel or mulch.
Table: Seasonal Maintenance Checklist
| Task | Frequency | Benefit |
|---|---|---|
| Wood resealing | Twice per year | Prevents rot and splintering |
| Accessory check | Monthly | Ensures safety and cleanliness |
| Water drainage check | After rain | Avoids wood warping |
7. Kid-Friendly Accessories That Withstand Weather
- Stainless steel or enameled pots and utensils
- Silicone molds for pretend baking
- Plastic-free scoops and stirrers
- Durable, outdoor-safe measuring cups
- Clip-on chalk holders with waterproof slate boards
Table: Outdoor-Safe Play Accessories
| Accessory | Material | Weather Durability |
|---|---|---|
| Mixing bowl | Stainless steel | Rust-resistant and sturdy |
| Baking mold | Silicone | UV and water safe |
| Toy ladle | Bamboo or steel | Eco-friendly and durable |
Detailed Content Expansion
2. Best Materials for Weatherproofing
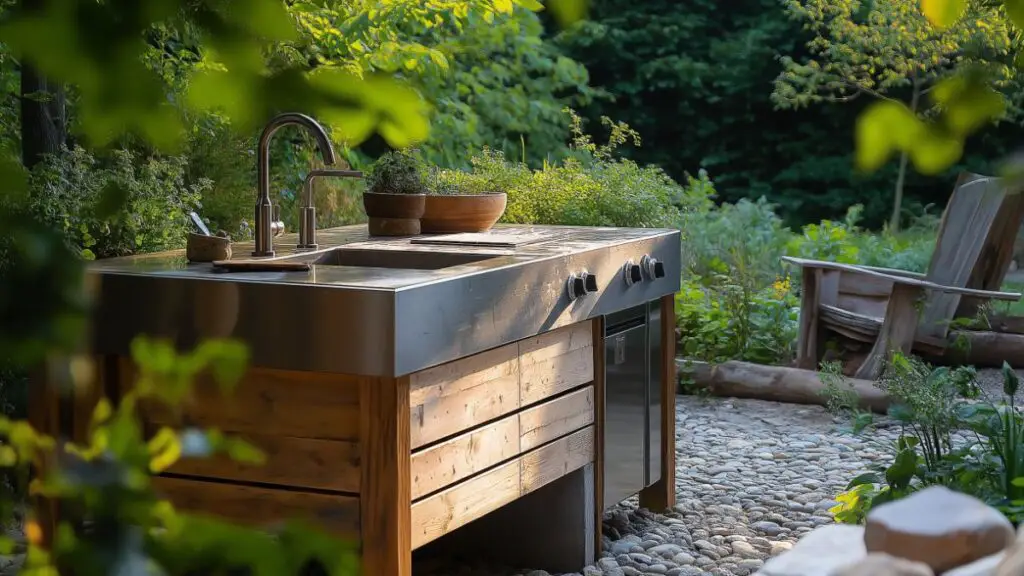
If your goal is long-term durability, choosing the right materials is essential. Pressure-treated lumber is a top choice for framing because it resists rot, mold, and insect damage—perfect for outdoor exposure. For a more natural aesthetic, cedar is a beautiful and aromatic option that also holds up well in changing weather.
When it comes to hardware, skip standard nails and go for galvanized or stainless steel fasteners. These materials resist rust and corrosion, maintaining strength over time. Sinks made from metal bowls or reclaimed stainless sinks are easy to clean and will not degrade with repeated use.
Seal all wood surfaces using a non-toxic, weatherproof outdoor sealant. This step helps protect against moisture, UV rays, and general wear and tear—especially critical for maintaining appearance and safety. Avoid soft plastics or untreated wood, which crack and warp easily in the sun or rain.
| Material | Benefit |
|---|---|
| Cedar | Natural rot resistance, stylish |
| Treated wood | Long lifespan, cost-effective |
| Metal sink | Weatherproof, easy to clean |
4. Functional Design Features That Hold Up Outdoors
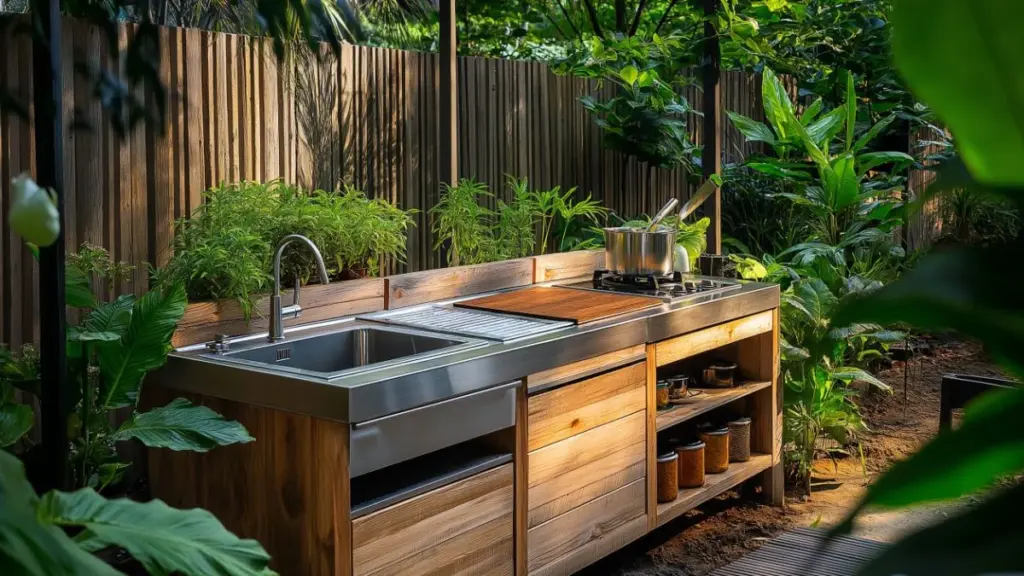
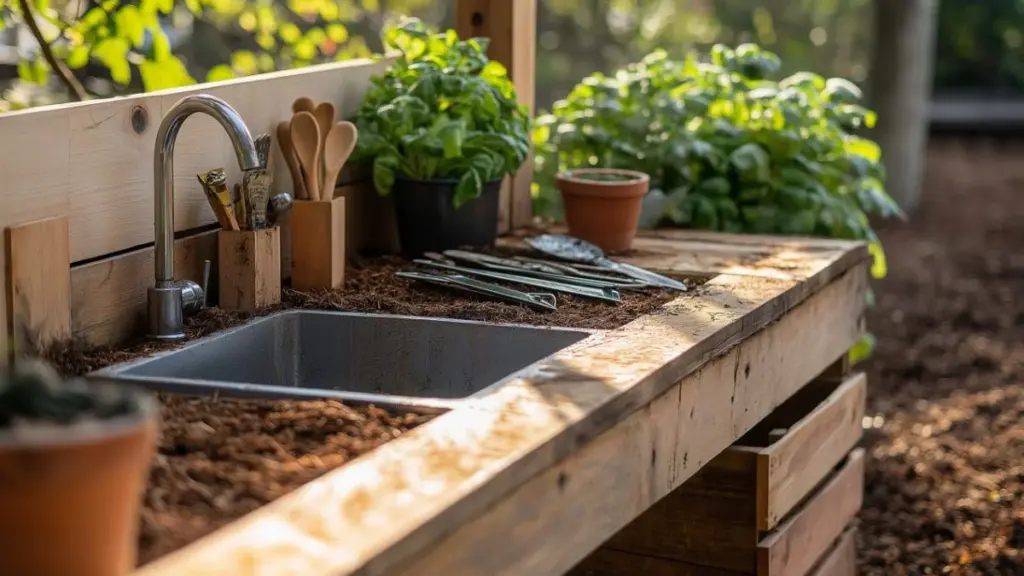
Your mud kitchen can be as practical as it is charming. Start with a drainage-friendly sink to avoid pooling and puddles—simply drill a hole in the base of a bowl and direct it to the ground or a bucket. Add shelving that’s deep enough for small baskets and bowls, and consider a slatted base shelf to allow air circulation.
For hanging utensils, install galvanized hooks under a shelf or on a side panel. This keeps tools off the ground and dries them out between uses. You might also include a weatherproof chalkboard panel, coated in outdoor chalk paint, for imaginative play that lasts through the seasons.
Consider roof protection, like a reclaimed awning, pergola extension, or even a tarp, to reduce UV damage and allow play even during light rain.
| Design Feature | Outdoor Benefit |
|---|---|
| Drainage sink | Prevents water damage |
| Hook rack | Keeps tools organized + dry |
| Covered top | Protects from sun and rain |
Conclusion
A weatherproof mud kitchen is a smart and stylish way to bring creativity and lasting value to your outdoor space. With the right materials, thoughtful design, and a bit of charm, this setup can serve as a durable, all-season play station that blends seamlessly with your backyard decor. It’s more than just a project—it’s a way to encourage your children to connect with nature, experiment through sensory play, and enjoy screen-free outdoor time that grows with them. By prioritizing durability and design, you ensure that the memories made in this play space will stand the test of time—just like the kitchen itself.