How to Build a DIY Mud Kitchen Using Recycled Materials for Creative Outdoor Play
Table of Contents
Introduction
In today’s digital age, encouraging imaginative outdoor play is more important than ever. According to the American Academy of Pediatrics, outdoor free play enhances cognitive development, social skills, and physical health in children. One of the most creative ways to achieve this at home? A DIY mud kitchen—and even better if it’s built with recycled materials.
A mud kitchen is a miniature outdoor “kitchen” where kids can stir, pour, and pretend to cook with mud, water, leaves, and whatever else nature provides. And the best part? You don’t need a big budget to build one. With a few wooden pallets, old sinks, crates, or unused kitchen items, you can create a charming, eco-friendly play space that aligns perfectly with a rustic or cottage-style garden.
This post will walk you through everything from design inspiration to materials sourcing and assembly tips. You’ll also find visual ideas to help make your mud kitchen as cute as it is practical. Let’s turn old scraps into magical memories.
In-Depth Outline:
1. Why Mud Kitchens Are Perfect for Creative Outdoor Play
- Encourage sensory exploration and imagination.
- Support Montessori and Waldorf-inspired play philosophies.
- Foster independence, teamwork, and creativity.
Table 1: Developmental Benefits of Mud Kitchens
| Skill Type | Benefit Example |
|---|---|
| Sensory Skills | Texture play with mud, water, and sand |
| Motor Skills | Pouring, scooping, balancing items |
| Social Skills | Role-play, sharing utensils |
| Cognitive Skills | Problem-solving through creative play |
2. Planning Your DIY Mud Kitchen Design

Before picking up a hammer, it helps to visualize your mud kitchen setup and consider how your child will interact with the space. A thoughtful layout improves both functionality and safety, especially when working with recycled items.
Key planning considerations:
- Size & Scale: Ensure the countertop height is suitable for your child’s age—typically 18″–24″ for toddlers and up to 30″ for older kids.
- Location: Place it on a flat, shaded surface near a water source if possible. Avoid low-lying spots prone to puddling.
- Layout Options: A basic linear setup with a “counter” and a lower shelf works well for small spaces. L-shaped designs offer more workspace for multiple kids.
- Function Zones: Include areas for “cooking” (bowls, spoons), “washing” (a sink or bucket), and “storing” (shelves, crates).
- Accessibility: Keep tools and containers within reach using S-hooks or repurposed kitchen racks.
Example Layout Plan:
| Feature Area | Components Included |
|---|---|
| Cooking Zone | Countertop, metal bowls, utensils |
| Sink Area | Old sink, faucet or water jug |
| Storage Space | Shelf or crate for dishes & tools |
With a basic sketch and a few measurements, you can upcycle your materials into a practical and fun outdoor space tailored to your backyard.
3. Sourcing Recycled Materials for Free or Cheap
- Wooden pallets from warehouses or garden centers.
- Old sinks, tiles, or countertops from renovation sites.
- Thrifted kitchen items: spoons, bowls, muffin tins.
Table 2: Common Recycled Materials for Mud Kitchen Builds
| Material | Source Ideas | Use in Kitchen |
|---|---|---|
| Pallet Wood | Construction sites, garden stores | Frame and shelving |
| Metal Bowls | Thrift stores, yard sales | Mixing “pots” |
| Old Sink | Renovation leftovers, salvage yards | Pretend washing station |
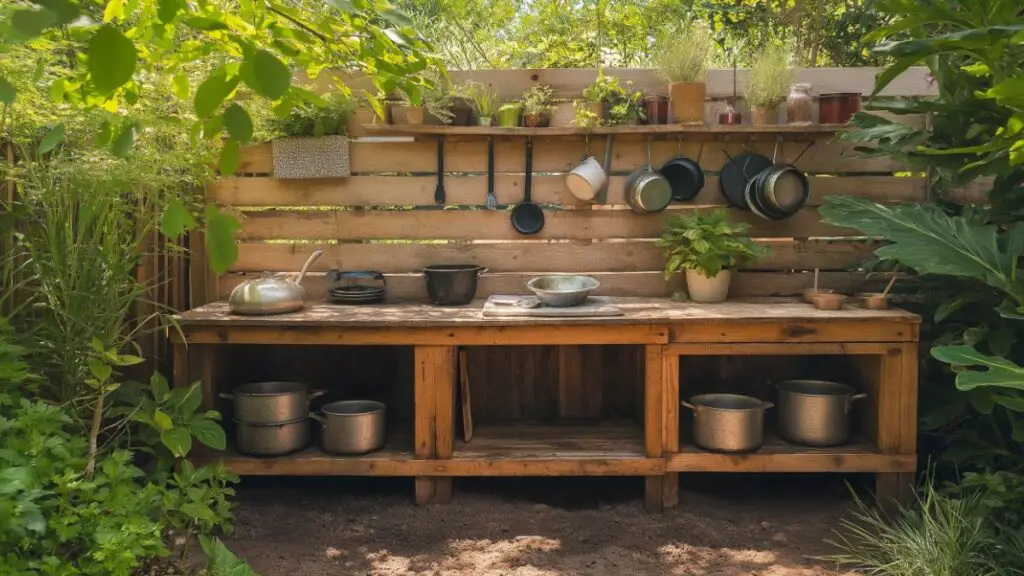
4. Step-by-Step Guide to Assembling Your Mud Kitchen
Now comes the fun part: putting it all together. With basic tools and a free afternoon, your mud kitchen can take shape using mostly salvaged items.
Step-by-step assembly:
- Build the Frame
- Use pallets or wood planks to create the backboard and side supports.
- Secure with deck screws for outdoor durability.
- Add the Countertop
- Repurpose an old shelf or use pallet boards.
- Cut a hole to fit an old sink or bowl snugly.
- Install Shelves & Storage
- Nail or screw crate boxes underneath for storage.
- Add small hooks to hang spoons, measuring cups, and pots.
- Attach Accessories
- Install a faucet (even a pretend one works!).
- Use chalkboard paint for a menu or recipe board.
- Finish and Seal
- Sand all edges and surfaces smooth.
- Apply a non-toxic sealant to protect the wood from weathering.
Assembly Timeline:
| Task | Estimated Time |
|---|---|
| Frame Construction | 1–2 hours |
| Counter/Sink Fit | 45 minutes |
| Accessory Add-ons | 30 minutes |
| Final Touches | 1 hour |
By the end of the day, you’ll have a fully functional, kid-approved mud kitchen ready for endless hours of imaginative fun.
5. Safe & Eco-Friendly Finishing Touches
- Sand rough edges, apply non-toxic sealant.
- Use untreated wood where possible.
- Add hooks or bins made from repurposed cans or jars.
Table 3: Kid-Safe Materials and Finishes
| Element | Recommendation |
|---|---|
| Wood Finish | Non-toxic linseed oil or beeswax |
| Hardware | Rounded corners, rust-proof screws |
| Sealants | Food-grade or zero-VOC options |
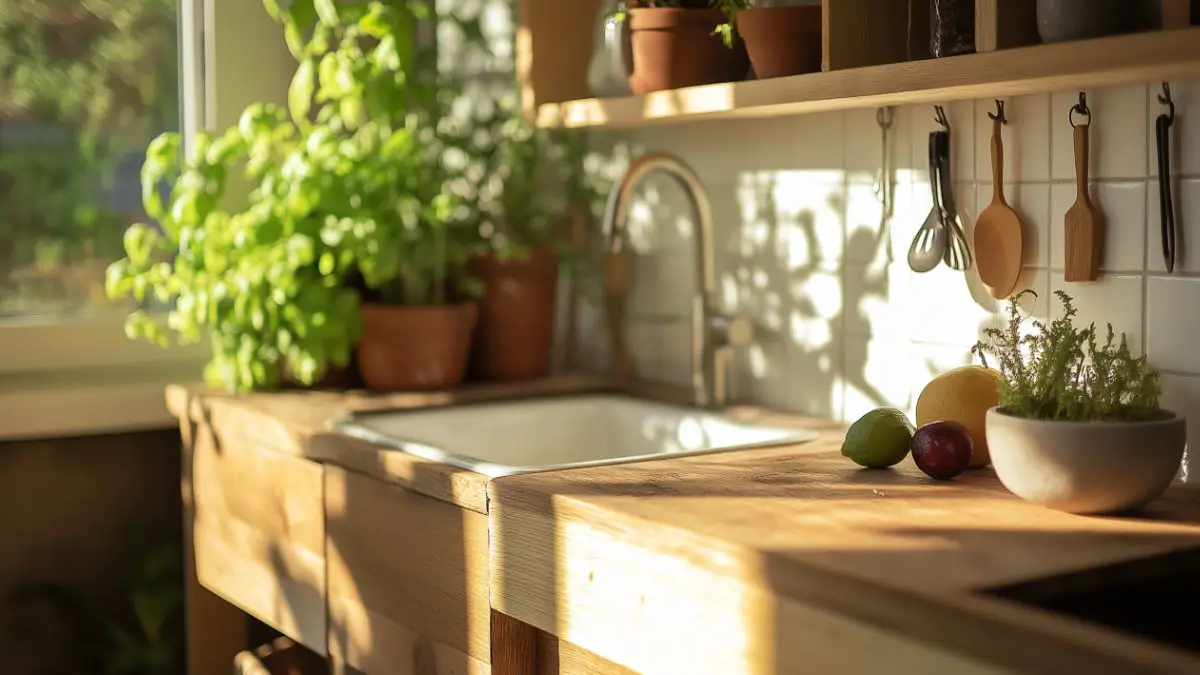
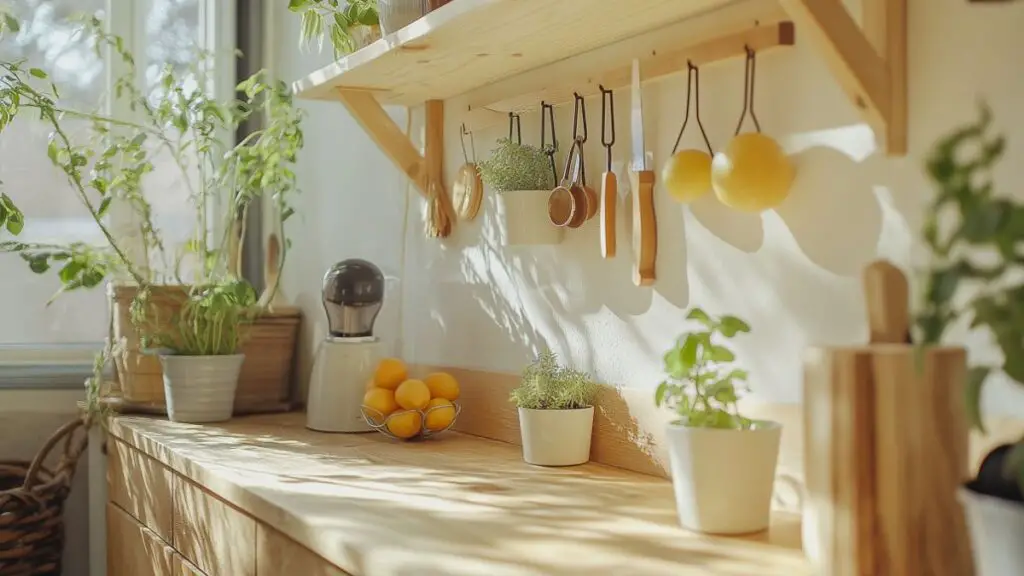
6. Styling Ideas: Make It Fun & Aesthetic
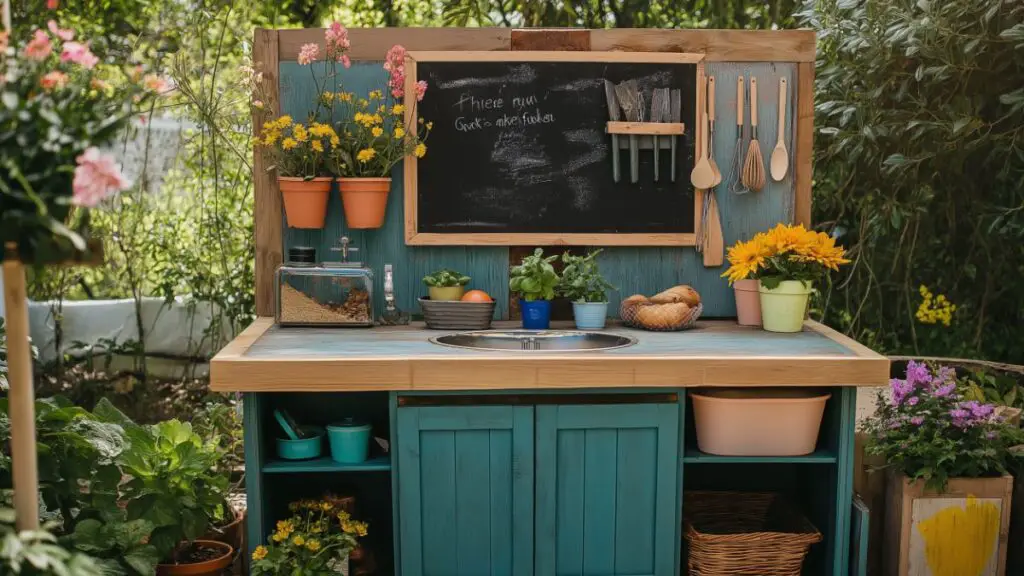
- Add chalkboard menus, hanging utensils, and flower pots.
- Paint in pastel tones or keep a rustic natural wood look.
- Use crate shelving and vintage signs for charm.
Table 4: Styling Themes for Mud Kitchens
| Theme | Key Features |
|---|---|
| Rustic Cottage | Wood tones, enamelware, chalk signs |
| Colorful Playhouse | Painted crates, bright buckets, labels |
| Nature-Inspired | Branch handles, stone counters, vines |
7. Maintenance and Upkeep Tips
- Rinse out sinks and bowls weekly.
- Reapply sealant annually for durability.
- Store removable parts in waterproof containers.
8. Fun Add-Ons to Extend Play Value
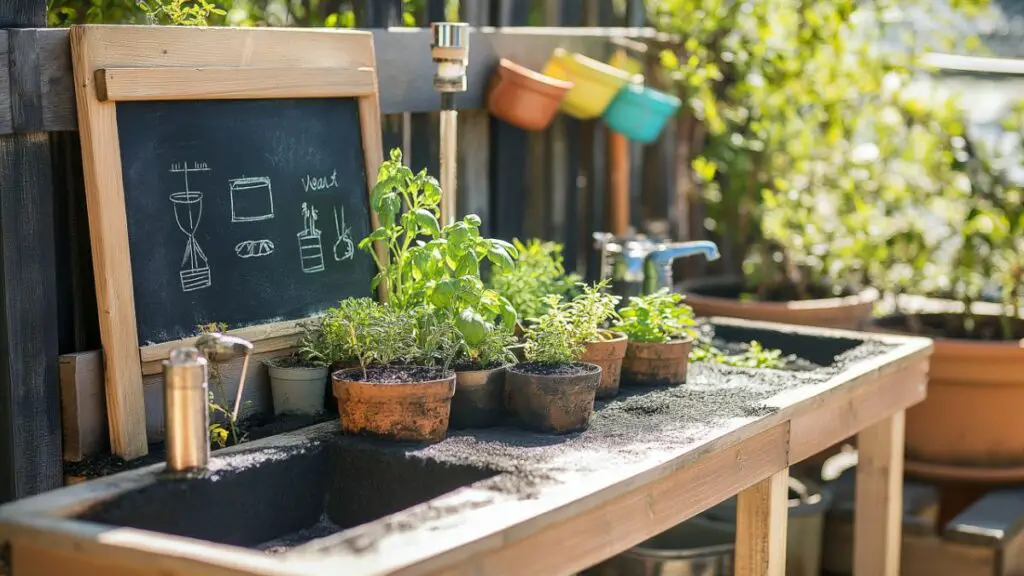
- Create a pretend herb garden beside the kitchen.
- Add water dispensers or pretend ovens.
- Include recipe cards for pretend meals.
Table 5: Bonus Features to Add to Your Mud Kitchen
| Feature | Purpose |
|---|---|
| Herb Garden | Sensory play, responsibility |
| Water Spout | Realistic washing station |
| Mud Recipes Board | Creative inspiration for pretend play |
Conclusion
A DIY mud kitchen made from recycled materials offers more than just play—it provides a creative, sustainable, and enriching space for kids to grow. With just a few reclaimed pieces and a bit of planning, you can craft a backyard feature that’s as beautiful as it is practical. From planning the layout to choosing safe finishes and fun accessories, this project brings the best of outdoor play and eco-friendly living together. Whether you’re going for rustic charm or playful whimsy, the result is a mud kitchen that encourages creativity, exploration, and connection with nature—right from your own backyard.