
DIY Mud Kitchen for Kids: Creative Backyard Project Ideas to Spark Imagination
Table of Contents
In an age of screens and structured play, a backyard mud kitchen offers something beautifully simple: imaginative, open-ended fun. According to child development experts, sensory outdoor play promotes creativity, problem-solving, and emotional regulation in kids—making a mud kitchen a valuable and timeless investment in your child’s development.
But here’s the best part: you don’t need fancy materials or a huge budget to build one. A DIY mud kitchen can be as stylish and functional as your indoor spaces, aligning with your home’s aesthetic while encouraging messy, joyful play in nature.
Whether you’re a parent seeking screen-free solutions or a home decor enthusiast looking to enhance your outdoor space with charm and function, this project offers the best of both worlds. In this guide, you’ll learn how to build a DIY mud kitchen that’s safe, fun, and photogenic—complete with creative add-ons, layout tips, and organization hacks to make your backyard feel like a rustic playground.
In-Depth Outline
1. Benefits of a DIY Mud Kitchen for Kids
- Encourages sensory-rich play and fine motor development.
- Promotes imaginative, unstructured outdoor activities.
- Teaches early responsibility through cleanup and care.
- Builds independence and teamwork among siblings or friends.
- Enhances backyard aesthetics with creative design elements.
Table: Child Development Benefits by Activity Type
| Activity | Developmental Benefit | Example |
|---|---|---|
| Mixing mud | Fine motor skills | Stirring with a wooden spoon |
| Pretend cooking | Imagination and creativity | Making “mud soup” |
| Washing dishes | Responsibility and self-reliance | Using a real sponge and basin |
2. Planning Your DIY Mud Kitchen: What to Consider
- Choose a shaded, flat area in your backyard.
- Consider proximity to water for easy cleanup.
- Select a location with space for kids to move freely.
- Plan a layout that includes counter space, shelves, and storage.
- Opt for durable materials like treated wood or recycled pallets.
Table: Site Planning Considerations
| Factor | Why It Matters | Tip |
|---|---|---|
| Shade | Protects children from sun | Set up near trees or install tarp |
| Water Access | Supports messy play + cleanup | Use hose or water container |
| Ground Surface | Drainage + safety | Avoid muddy dips or rocky areas |
3. Materials You’ll Need: Budget-Friendly to Premium
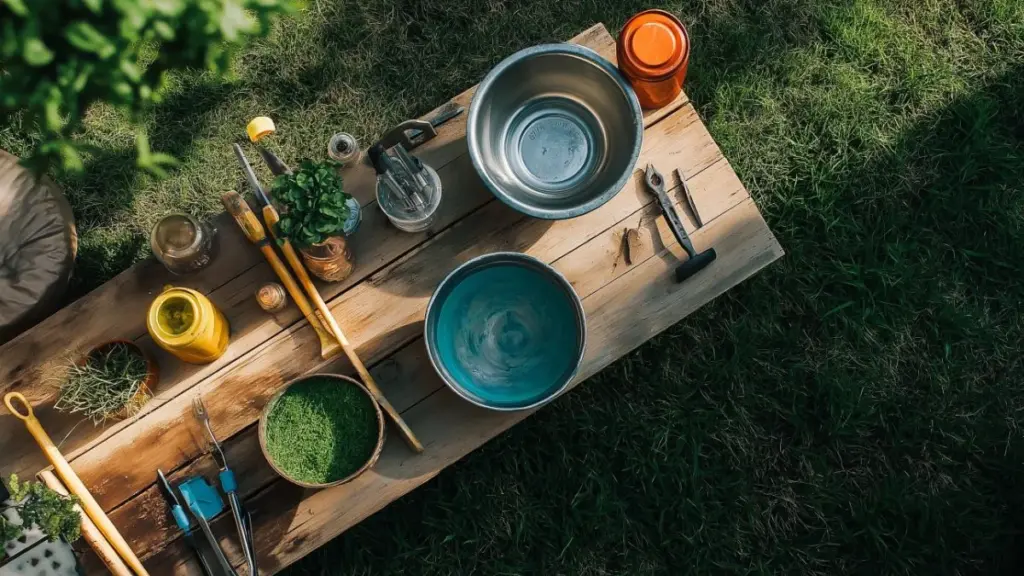
- Reclaimed wood or pallets for structure
- Metal bowls, old sinks, and plastic containers
- Hooks and baskets for utensils and tools
- Waterproof wood sealant or child-safe paint
- Optional: chalkboard paint for menus or signs
Table: Budget vs Premium Options
| Component | Budget Option | Premium Option |
|---|---|---|
| Base Frame | Wooden pallet | Pressure-treated lumber |
| Sink Area | Metal bowl | Reclaimed farmhouse sink |
| Storage | Hanging baskets | Built-in drawers with knobs |
4. Step-by-Step Build Guide for Your Mud Kitchen
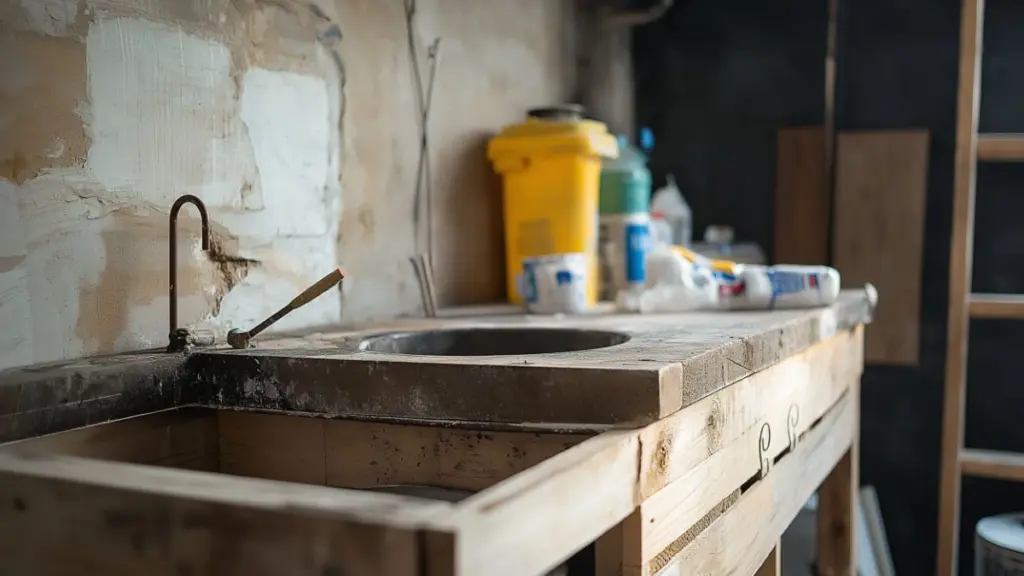
- Step 1: Assemble the base using pallets or wood panels.
- Step 2: Cut out a sink space and install a bowl or basin.
- Step 3: Attach shelves, hooks, and a working surface.
- Step 4: Sand and paint the surfaces with weatherproof finish.
- Step 5: Add accessories like pots, pans, and faux burners.
Table: Step-by-Step Summary
| Step | Action | Tip |
|---|---|---|
| Frame assembly | Nail or screw base together | Use level to ensure stability |
| Sink installation | Secure bowl with adhesive/seal | Drill drainage hole if needed |
| Finishing touches | Paint and decorate | Let paint dry fully before use |
5. Fun Accessories to Include for Play and Decor
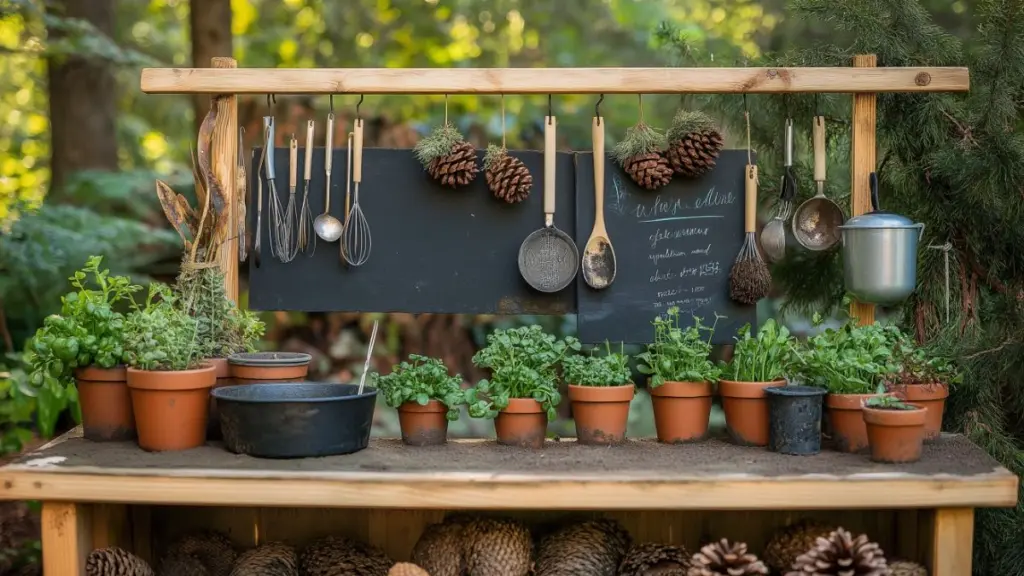
- Faux stovetop made from painted circles or metal lids
- Hanging colanders, measuring cups, and ladles
- Potted herbs for sensory interaction and learning
- Mini chalkboard for daily “menus”
- Pebbles, leaves, and pinecones as pretend ingredients
Table: Functional vs Decorative Accessories
| Item | Functional Use | Decorative Value |
|---|---|---|
| Metal colander | Straining mud or water | Industrial rustic charm |
| Herb pots | Sensory + educational | Adds greenery |
| Chalkboard sign | Menu or play ideas | Playful visual centerpiece |
6. Safety and Maintenance Tips for Long-Term Use
- Use child-safe, non-toxic finishes and rounded corners.
- Anchor the kitchen securely to avoid tipping.
- Clean and dry all surfaces after heavy play or rain.
- Store utensils in a closed bin when not in use.
- Re-seal wood every season to prevent splinters or mold.
Table: Maintenance Routine
| Task | Frequency | Why It Matters |
|---|---|---|
| Surface cleaning | After each play day | Hygiene and material longevity |
| Wood inspection | Monthly | Prevent rot and splinters |
| Tool check | Weekly | Ensure no rust or loose parts |
7. Involve Kids in the Building Process
- Let them choose paint colors or decorations.
- Encourage them to gather natural materials.
- Create play prompts together, like recipe cards.
- Have them name their “kitchen” and make a sign.
- Teach them simple tasks like wiping down surfaces.
Table: Age-Appropriate Involvement Ideas
| Age Group | Safe Participation Idea |
|---|---|
| 3–5 years | Selecting colors, naming the kitchen |
| 6–8 years | Assembling accessories, labeling tools |
| 9+ years | Painting and light construction assistance |
Detailed Content Expansion
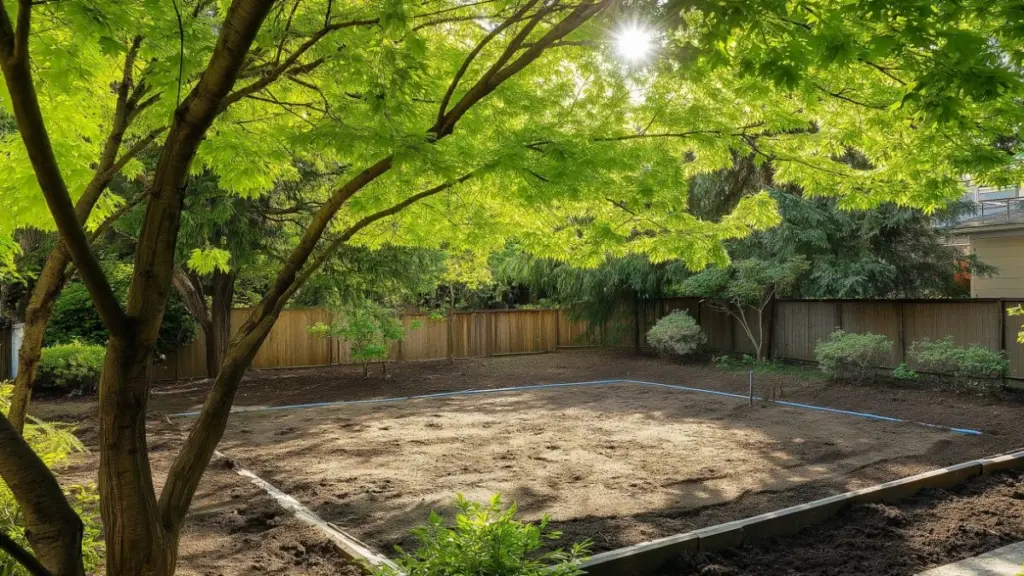
2. Planning Your DIY Mud Kitchen: What to Consider
Before you gather tools or start sawing planks, take time to map out your space. Choose a location that blends well with your backyard’s layout—ideally a shaded corner to protect kids from sun exposure during long play sessions. Access to water is a bonus, making it easier to fill bowls or rinse muddy hands.
Ensure the surface is level and well-drained. Grass, mulch, or woodchips make great flooring options that feel natural and safe. Avoid steep slopes or uneven ground that could pose a tripping hazard.
Plan for enough space so that your mud kitchen has a defined cooking area, a shelving zone, and a “sink” or water play space. Visualize how kids will move between stations, just like a real kitchen. Keeping the layout intuitive will make for seamless and engaging play.
| Planning Element | Details |
|---|---|
| Location | Flat, shaded, away from slippery surfaces |
| Size | At least 3×5 feet for multiple kids to enjoy |
| Drainage | Essential to prevent muddy pooling |
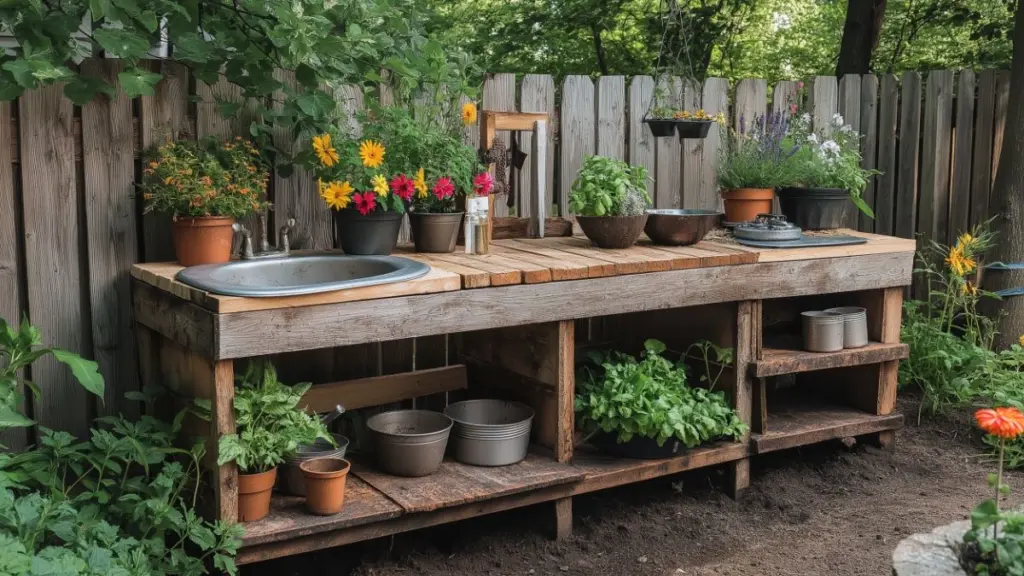
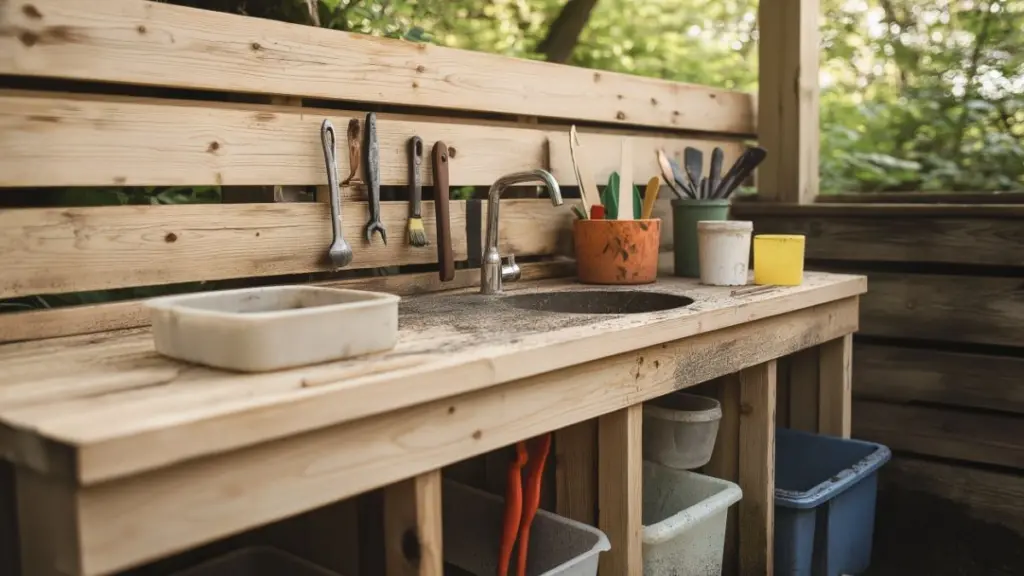
4. Step-by-Step Build Guide for Your Mud Kitchen
This is where the magic happens. Start by building a stable base using recycled pallets or pressure-treated wood. Nail or screw the planks together to form a countertop, ensuring it’s the right height (approx. 22–26 inches for young kids). Cut out a circular hole to fit your metal bowl or basin sink.
Once the structure is secure, add side shelves using leftover wood or small crates. Screw in hooks for hanging utensils and tools. Sand all surfaces thoroughly and apply a child-safe waterproof sealant or outdoor paint. Let it dry completely before use.
Customize with fun touches: a painted faux stove, chalkboard signs, or even curtains. Make sure everything is weather-resistant and securely attached.
| Build Phase | Tip |
|---|---|
| Frame | Use a level to ensure balance and safety |
| Sink Cutout | Use a jigsaw and sand edges for smooth finish |
| Finishing | Choose eco-friendly, weatherproof finishes |
Conclusion
A DIY mud kitchen is more than a backyard project—it’s a space for creativity, exploration, and sensory joy. With thoughtful planning and a touch of home decor flair, it becomes a stylish yet functional addition to your outdoor living space. From construction to decoration, every element of the mud kitchen invites kids to engage with nature, make memories, and build essential life skills. Whether you’re crafting from scratch or upcycling existing materials, this project brings together the best of design, education, and hands-on fun—all right in your backyard.d kitchen invites kids to engage with nature, make memories, and build essential life skills. Whether you’re crafting from scratch or upcycling existing materials, this project brings together the best of design, education, and hands-on fun—all right in your backyard.